Have you ever yearned for the comforting aroma of freshly baked white bread wafting through your kitchen? Look no further! This Ultimate Homemade White Bread recipe is your gateway to achieving the epitome of light, fluffy, and irresistibly soft bread that will leave everyone convinced it hails straight from the finest bakery.
The Beauty of Crafting Your Own White Bread
Contrary to popular belief, baking your own bread is not an intricate affair reserved for seasoned bakers. This recipe simplifies the process, allowing you to indulge in a fresh-from-the-oven loaf within just over two hours, with a mere hour and a half dedicated to the rising magic.
Ingredients Needed:
Warm Water (105-115 degrees): Essential to activate the yeast.
Active Dry Yeast: Instant or rapid rise yeast can be substituted with guidance from the adaption notes.
Granulated Sugar or Honey: Acts as the yeast’s nourishment and contributes to the bread’s tenderness.
Salt: Elevates the flavor profile.
Oil: Choose between vegetable, canola oil, or melted butter for a hint of richness.
Flour: Bread Flour or All-Purpose Flour – both work seamlessly, with slight adjustments based on factors like altitude and humidity. The dough’s texture is paramount; it should be smooth, pulling away from the bowl’s sides, with just a hint of stickiness.
Pro Tips:
Opt for fresh yeast to ensure a proper rise.
Store yeast in the refrigerator for optimal quality.
Quick-rise tip: expedite the rising time by using the oven’s residual heat after preheating.
How To Make:
Proof the Yeast: In a sizable bowl or stand mixer, combine yeast, water, and a pinch of sugar or honey. Let it rest for 5-10 minutes until it becomes foamy and bubbly – the proof that your yeast is active.
Prepare the Dough: Add the remaining sugar or honey, salt, oil, and 3 cups of flour. Mix well. Gradually incorporate more flour, ½ cup at a time, until the dough starts pulling away from the bowl’s sides.
Knead the Dough: Mix the dough for 5 minutes on medium speed (or knead by hand on a floured surface for 5-8 minutes) until smooth, elastic, and slightly sticky.
First Rise: Grease a large bowl and let the dough double in size (approximately 1 ½ hours).
Punch the Dough Down: Remove air bubbles.
Shape and Second Rise: Divide into two portions, shape into loaves, and allow to rise for 45 minutes to an hour, or until risen 1 inch above the pans.
Bake to Perfection: Preheat the oven, bake for 30-33 minutes until golden brown, and ensure a hollow sound when tapping the top of a loaf.
Cool and Savor: Invert the loaves onto a wire rack, brush with butter, and cool for at least 15 minutes before slicing.
Make-Ahead and Freezing Tips:
For advanced prep, refrigerate the dough after step 4 and proceed when ready.
Freeze the dough before the second rise for convenient future baking.
Freeze fully baked loaves for extended storage.
Variations to Elevate Your Bread Experience:
Cinnamon Swirl Bread: Introduce a swirl of cinnamon sugar for a delightful twist.
Raisin Bread: Enhance the dough with 2 cups of raisins for a fruity delight.
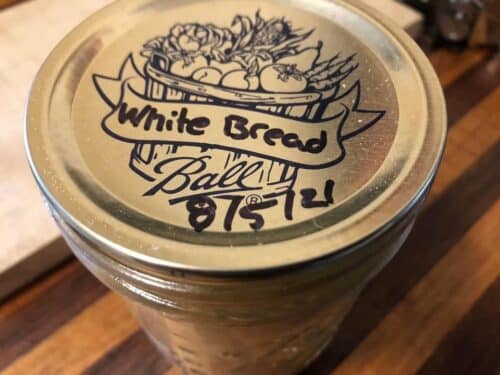
White Bread
Look no further for the best and simplest homemade Bread recipe made with just six pantry staples! This white bread is perfect for sandwiches and freezes remarkably well.
202
kcalIngredients
2 cups warm water (105-115 degrees)
1 tablespoon active dry yeast
1/4 cup honey or sugar
2 teaspoons salt
2 tablespoons oil (canola or vegetable)
4 – 5 1/2 cups all-purpose or bread flour
Directions
- Prepare the Dough: Proof the yeast by combining it with water and a pinch of sugar or honey. Let it rest until foamy.
- Mix and Knead: Add remaining sugar or honey, salt, oil, and 3 cups of flour. Mix well. Gradually add more flour until the dough is smooth and elastic. Knead for 4-5 minutes.
- Shape and Second Rise: Divide, shape into loaves, and let rise for 45 minutes to an hour.
- Bake: Preheat oven to 350 F and bake for 30-33 minutes until golden brown.
- Cool and Enjoy: Invert loaves onto a wire rack, brush with butter, and cool for at least 10 minutes before slicing.
Nutrition Facts
- Calories: 202kcal
- Fat: 2g
- Potassium: 56mg
- Carbohydrates: 41g
- Fiber: 1g
- Sugar: 3g
- Protein: 5g
- Calcium: 8mg
- Iron: 2mg