Have you ever marveled at the simplicity and decadence of crafting your very own Homemade Butter? Prepare to be amazed, as I guide you through a culinary journey that requires only a handful of ingredients but promises an outcome that will elevate your kitchen endeavors. Bid farewell to store-bought butter as we delve into the art of creating not just butter but also the luscious byproduct, buttermilk, all within the comfort of your own kitchen.
Ingredients Needed:
Introduction to Cream Transformation: Begin by pouring cold cream into your food processor, or if you prefer, utilize an electric hand mixer or stand mixer.
Whipping into Bliss: Whip the cream until it gracefully separates. Around 2 ½ minutes in, witness the transformation as it thickens—keep going. At the 4-minute mark, marvel at the appearance of yellow, buttery solids and a cloud-like liquid, a clear indication of the successful separation.
Icy Elegance: Introduce ice-cold water into the mix. This step not only ensures a complete separation of butter from liquid (buttermilk) but also reveals even more of the tantalizing buttermilk.
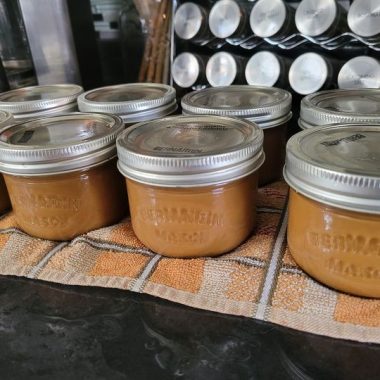
Finishing Touches: As your butter takes form, place a sieve over a bowl and pour in the mixer’s contents. The liquid left behind is precious buttermilk, ready to be saved in the fridge for future culinary adventures.
Butter Solid Mastery: Squeeze the butter solids in your hands, ensuring every drop of buttermilk is expelled. For an extra touch, utilize a clean tea towel or cheesecloth to perfect the process.
Infusion of Flavor: Stir in your preferred salt or additional flavors to your newfound soft butter. This delightful recipe yields over 2 sticks/10oz/300g of homemade butter, promising a culinary delight like no other.
Mastering the Consistency:
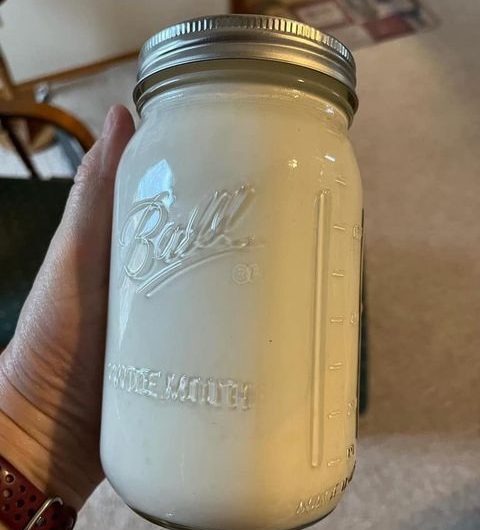
Behold the finished product—a soft, classic, and buttery consistency that will leave you questioning why you haven’t been making your own butter all along. If, by any chance, your butter feels a tad wet, revisit the separation process to ensure the absence of lingering buttermilk.
The Great Refrigeration Dilemma:
The burning question—do you need to refrigerate your homemade butter?
The answer: not necessarily. Feel free to leave it on the counter for about a week, but for those who prefer extra precautions:
Rinse the butter thoroughly to remove any trace of buttermilk.
Add salt for a natural preservative, ensuring prolonged freshness.
Keep your home cool; temperatures above 75 degrees might warrant refrigeration.
Consider a butter bell for an air-tight seal, although this step is entirely optional.
Yield of Cream Transformation:
The cream typically divides in half during this magical process. While slight variations may occur based on cream fat content, a general rule stands: if you start with 2 cups of cream, you’ll be rewarded with nearly 1 cup of butter and an equivalent amount of liquid gold, buttermilk.
Homemade Butter
Delight in the simplicity of crafting your own delicious butter with my quick and easy Homemade Butter recipe. Armed with just a handful of everyday ingredients, you can create a batch of this delectable treat for use in your favorite baking recipes or as a savory spread on its own.
2
servings10
minutes8
kcal10
minutesIngredients
3 cups (24 fl oz/720 ml) heavy cream (high fat content)
1 teaspoon salt
5 tablespoons ice water
Directions
- Pour the cold cream into your food processor, or opt for an electric whisk or stand mixer for convenience.
- Whip the cream until it separates. Around 2 ½ minutes, witness the thickening process; continue until fully separated at around 4 minutes.
- Introduce ice-cold water to facilitate complete separation of butter from the liquid (buttermilk). Expect to see additional buttermilk emerge.
- Place a sieve over a bowl and pour in the contents for separation. Save the liquid as buttermilk for future culinary ventures.
- Squeeze the butter solids thoroughly to eliminate any residual buttermilk. A clean tea towel or cheesecloth can be employed for this purpose.
- Stir in salt or other flavors to your soft butter. This simple recipe yields over 2 sticks/10 oz/300 g of butter.
Equipment
- Stand Mixer
- Whisk Attachment for Stand Mixer
- Silicone Spatula
- Small Mixing Bowl
- Small Tea Strainer (Sieve)
- Measuring Spoons
- Butter Paddles
- Baking Parchment
Notes
- Dairy-free milk is not suitable for this recipe; genuine dairy cream is essential.
- Opt for cream with a high fat content for optimal results.
- Storage and Usage Tips: Store in the fridge for up to 6 weeks, ready for use in baking, savory dishes, or a delightful spread on toast.
Nutrition Facts
- Calories: 8kcal
- Cholesterol: 3mg
- Sodium: 28mg
- Potassium: 1mg
- Calcium: 2mg