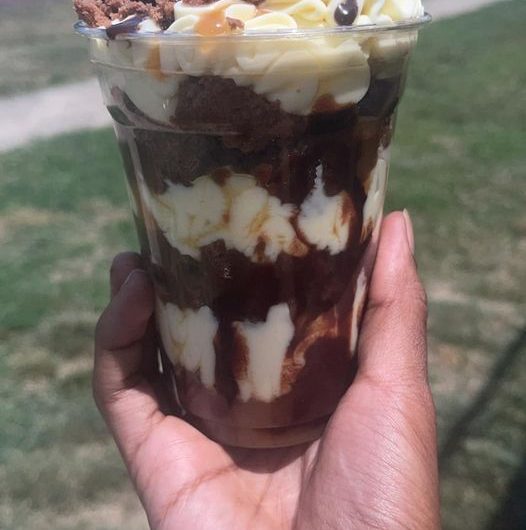
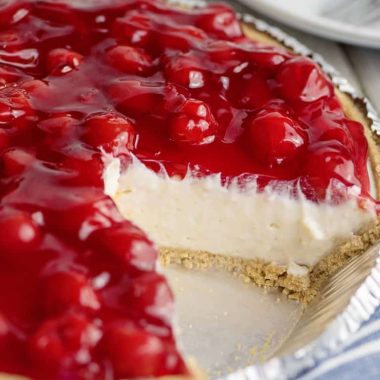
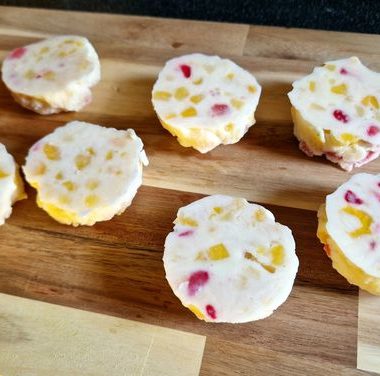
Indulge in the creamy, dreamy delight of our Cheesecake Cups, where a luscious cheesecake crowns a vanilla wafer base, creating a single-serving masterpiece. Elevate the experience with your choice of delectable toppings or pie fillings, making it a versatile dessert that’s both cute and perfectly portioned. In this comprehensive guide, we’ll delve into the reasons you’ll fall in love with this recipe, explore the ingredients and their variations, and provide step-by-step instructions for crafting these delightful treats.
Why You Should Try This?
Cuteness Overload: The adorable, individually portioned cups make for an aesthetically pleasing and Instagram-worthy dessert that will steal the spotlight at any gathering.
Simplicity at its Best: This recipe is not just cute; it’s also incredibly easy to make, requiring minimal ingredients and effort.
Irresistible Flavor: From the first spoonful to the last, the combination of the creamy cheesecake and the vanilla wafer crust is a flavor symphony that will leave your taste buds singing.
Versatility Unleashed: The beauty of these Cheesecake Cups lies in their versatility. Customize with your favorite toppings to suit your mood or the occasion.
Ingredients & Variations:
Cheesecake:
1 whole vanilla wafer
Cream cheese
Crust:
Vanilla wafers
Toppings (Choose one or more):
Pie filling (cherry, blueberry, raspberry, lemon, strawberry, or apple)
Fresh fruit
Caramel
Chocolate sauce
Edible cookie dough
Variations to Elevate Your Experience:
Add flavorings like almond extract, orange or lemon zest, or a squeeze of lemon juice to the cheesecake batter.
Swirl in caramel sauce, chocolate syrup, honey, or your favorite fruit preserve into the cheesecake mix.
Experiment with the cookie crust by using crushed chocolate wafer cookies or crafting a no-bake graham cracker crust.
Making the Perfect Cheesecake Cups – Step by Step
Fluffing up the Cream Cheese:
In a bowl, beat the cream cheese until light and fluffy.
Whipped Cream Magic:
In a separate bowl, whip up some cream until it forms stiff peaks.
Gently fold the whipped cream into the cream cheese, ensuring a light and airy texture.
Crust Placement and Cheesecake Piping:
Nestle a vanilla wafer at the bottom of each cup.
Pipe the heavenly cheesecake mixture into each cup, creating a symphony of flavors.
Chill and Top to Perfection:
Refrigerate for at least an hour, allowing the flavors to meld.
Top with your preferred toppings – be it chocolate chips, candies, crushed cookies, sprinkles, or fresh berries.
Baking Time:
Bake in a preheated 325-degree oven for 18-23 minutes, ensuring a slight jiggle in the center.
Cool for an hour, then cover and transfer to the refrigerator for an additional 2 hours.
Serving and Storing:
Serve chilled, relishing every spoonful adorned with your favorite toppings.
Store in the refrigerator, and these mini cheesecakes will delight for 3-4 days.
Freezing for Later:
Yes, they freeze beautifully! Chill thoroughly, freeze without toppings in an airtight container.
Thaw in the refrigerator overnight for a quick and delightful dessert.


