Our delightful homemade apple pie promises to be an unparalleled treat, boasting a blend of flavors that set it apart. This warm and inviting classic is a breeze to prepare in three straightforward steps, leveraging the ultimate baking shortcut: Pillsbury™ Pie Crusts. Serve up this effortless apple pie and relish in the nostalgic delight with your loved ones. Be it for a holiday, a gathering, or a special weekend indulgence, this timeless recipe is certain to bring unbridled joy.
Best Apples for the Perfect Pie
Selecting the right apples is crucial for a homemade apple pie that tantalizes the taste buds. Opt for apples with a crisp and firm texture, offering a harmonious blend of sweetness and tartness. Embrace the tangy allure and firm flesh of Granny Smith apples for a balanced flavor profile that endures the oven’s heat.
Honeycrisp apples, juicy, sweet, and firm, stand as an excellent choice for your homemade pie, especially during their fall peak. Equally enticing year-round, Gala apples bring a mildly sweet taste and a crisp texture that retains its integrity during baking. For those who prefer a softer, naturally sweet apple pie, Golden Delicious apples are an ideal pick.
However, one apple variety that doesn’t quite fit the bill for the perfect pie is the Red Delicious. Despite their individual appeal, these apples lack the tartness that enriches the robust apple essence in a pie and tend to disintegrate into mushiness when baked.
Storing Your Apple Pie
Although it’s doubtful you’ll have leftovers, fear not—your surplus homemade apple pie need not go to waste! To maintain its freshness, allow the pie to cool for a minimum of 2 hours post-baking. Cover the entire pie with plastic wrap or aluminum foil and store it at room temperature for up to 2 days. If you find yourself with a bit more, refrigeration extends its shelf life for an additional 2 days. When a slice beckons, a few seconds in the microwave will revive its warmth.
Keen on keeping your baked apple pie for an extended period? Freeze this delightful creation for up to 4 months! Follow the recipe instructions, allowing the pie to cool entirely before tightly wrapping it in plastic wrap, sealing it in a 2-gallon freezer storage bag, and freezing it. When the time comes to savor it, allow it to thaw at room temperature for an hour and then reheat it in a 375°F oven.
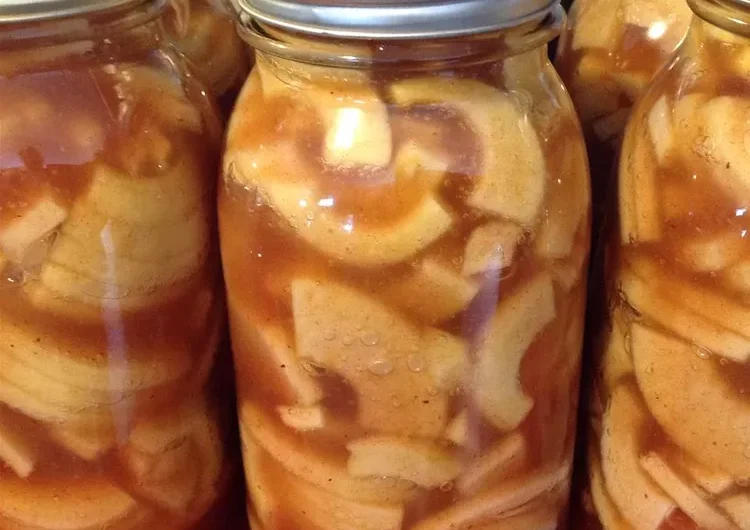
Apple Pie Filling
4
servings30
minutes230
kcalIngredients
¾ teaspoon ground cinnamon
¼ teaspoon salt
2 tablespoons all-purpose flour
⅛ teaspoon ground nutmeg
6 cups apples
1 box Pillsbury pie crusts
¾ cup sugar
1 tablespoon lemon juice
Directions
- Preheat the oven to 425°F. Place one pie crust in an ungreased 9-inch glass pie plate, pressing it firmly against the sides and bottom.
- Gently mix the filling ingredients in a large bowl, then spoon the mixture into the crust-lined pie plate. Cover with the second crust. Fold the excess top crust under the bottom crust’s edge, pressing the edges together to seal and flute them. Cut slits or shapes in several places on the top crust.
- Bake for 40 to 45 minutes or until the apples are tender and the crust is a golden brown. Cover the crust’s edge with 2- to 3-inch wide strips of foil after the first 15 to 20 minutes of baking to prevent excessive browning. Allow the pie to cool on a cooling rack for at least 2 hours before serving.
Nutrition Facts
- Calories: 230kcal
- Fat: 6g
- Carbohydrates: 43g
- Sugar: 27g
- Protein: 1g