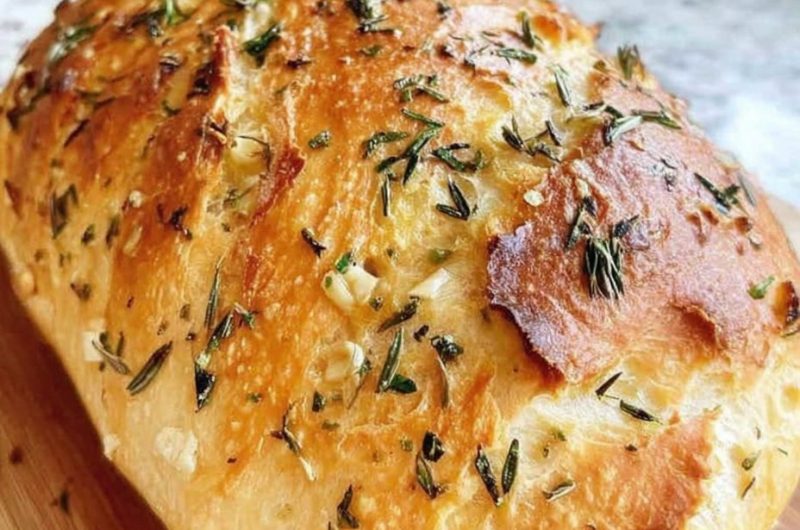
Freshly baked bread is one of the most comforting foods you can make at home, and this Gluten-Free No-Knead Bread proves that homemade bread doesn’t have to be difficult. Designed without kneading, eggs, or butter, this simple recipe produces a soft, fluffy loaf with a tender crumb and a beautifully golden crust. Whether you follow a gluten-free lifestyle because of celiac disease, food sensitivities, or personal preference, this recipe offers an easy and reliable way to enjoy homemade bread without complicated techniques.
Unlike many gluten-free bread recipes that require special equipment or lengthy preparation, this loaf comes together with a quick mix-and-pour method. The dough is stirred instead of kneaded, rises directly in the loaf pan, and bakes into a delicious loaf that’s perfect for sandwiches, toast, breakfast, or serving alongside soups and salads.
Importance of This Recipe
This recipe is ideal for anyone who wants fresh homemade bread without spending hours in the kitchen. There is no kneading, no complicated shaping, and no advanced baking experience required. Simply mix the ingredients, allow the dough to rise, and bake until golden brown.
Another reason this recipe is so popular is its versatility. Since it contains no eggs or butter, it is suitable for many dietary needs, including vegan and dairy-free lifestyles. The finished loaf stays soft, slices easily, and can be enjoyed fresh or toasted throughout the week.
What Makes This Bread Different?
Traditional bread depends on gluten to create elasticity during kneading. Since gluten-free flour behaves differently, kneading is unnecessary and often ineffective. Instead, this recipe uses a thick batter-like dough that develops its structure during rising and baking.
The result is a loaf with a surprisingly light texture and soft interior, while still maintaining enough structure for slicing. The simplified preparation also makes this one of the most beginner-friendly gluten-free bread recipes you can make at home.
The Secret to Soft Gluten-Free Bread
A few simple ingredients work together to create a loaf that remains soft and moist without relying on eggs or dairy.
Gluten-Free Flour Blend
A quality gluten-free flour blend provides the foundation for the loaf. Blends containing xanthan gum usually produce the best texture because xanthan gum helps replace the elasticity normally provided by gluten.
If your flour blend does not already contain xanthan gum, adding a small amount helps improve the bread’s structure, making it easier to slice while reducing crumbling.
Olive Oil Adds Moisture
Instead of butter, this recipe uses olive oil to create a tender crumb. Olive oil helps keep the bread soft after baking while adding richness without overpowering the flavor. It also contributes to a moist texture that remains enjoyable for several days.
Understanding the Ingredients
Although this bread requires only a handful of ingredients, each one plays an important role in producing a successful loaf.
Warm water activates the yeast and creates the moisture needed to form the dough. Active dry yeast provides lift by producing tiny air bubbles that expand during baking, giving the bread a lighter texture. Sugar or honey feeds the yeast, helping it become active before mixing.
Salt enhances the overall flavor while balancing the sweetness. Together, these ingredients produce a loaf that tastes wholesome and satisfying despite its simplicity.
Why Yeast Activation Is Important
Proper yeast activation is one of the most important steps in bread making. Mixing the yeast with warm water and sugar allows it to wake up before being combined with the flour. Within a few minutes, the mixture should become foamy, showing that the yeast is active and ready to help the bread rise.
Using water that is too hot may damage the yeast, while cold water slows activation. Warm water provides the ideal environment for consistent results.
Mixing the Dough Without Kneading
One of the biggest advantages of this recipe is its simplicity. Once the yeast mixture is ready, all remaining ingredients are stirred together until a thick, sticky batter forms. Unlike traditional bread dough, there is no need to knead or work the mixture.
The finished dough should resemble thick cake batter rather than firm bread dough. This softer consistency is completely normal and helps produce a lighter loaf after baking.
Why This Bread Is Perfect for Beginners
Many people feel nervous about baking bread because traditional recipes often involve kneading, shaping, and complicated rising techniques. This gluten-free version removes those challenges completely. The dough is simply mixed, poured into a loaf pan, and left to rise before baking.
Because there are fewer steps and less handling, beginners often achieve excellent results on their very first attempt. The straightforward process also makes this recipe a great introduction to gluten-free baking.
The Importance of the First Rise
Although kneading is unnecessary, allowing the dough to rise is still essential. During this stage, the activated yeast produces carbon dioxide, causing the batter to expand naturally. The dough should become noticeably puffier before baking, helping create a lighter interior.
Allowing enough rising time also improves flavor. As the yeast works, subtle fermentation develops, giving the finished bread a more traditional homemade taste that pairs beautifully with both sweet and savory toppings.
Baking for the Best Texture
Baking at the proper temperature allows the bread to rise fully while developing a lightly golden crust. As the loaf bakes, the moisture inside gradually transforms into a soft, airy crumb while the exterior becomes firm enough to support clean slicing.
The bread is ready when the top is golden brown and the loaf sounds slightly hollow when tapped. Proper baking ensures the center cooks completely without becoming dense or gummy.
Cooling Before Slicing
One of the most important steps in gluten-free bread baking happens after the loaf comes out of the oven. Although the bread smells wonderful while it is still warm, allowing it to cool completely helps the crumb finish setting. Cutting into the loaf too early may cause the center to become compressed or slightly gummy.
Once cooled, the bread slices much more neatly and holds its shape better. This simple step improves both the appearance and texture of every slice, making the loaf ideal for sandwiches, toast, and everyday meals.
Delicious Ways to Enjoy This Bread
This Gluten-Free No-Knead Bread is incredibly versatile and works well with a wide variety of meals. Fresh slices are delicious with butter alternatives, fruit preserves, peanut butter, or avocado for breakfast. Toasted slices develop a lightly crisp exterior while remaining soft inside, making them perfect for morning toast or snacks.
The bread is also an excellent choice for sandwiches, grilled vegetables, soups, stews, salads, or homemade garlic bread. Because it has a mild flavor, it pairs equally well with sweet and savory toppings throughout the day.
Perfect for Everyday Baking
Unlike many specialty breads that are reserved for special occasions, this recipe is practical enough for everyday use. The ingredients are simple, preparation is straightforward, and the baking process requires very little hands-on time.
Whether you are making lunch for the family, preparing toast for breakfast, or serving fresh bread with dinner, this loaf fits naturally into a wide variety of meals. Its reliable results make it a recipe that both beginners and experienced bakers can enjoy repeatedly.
Great for Meal Prep
Homemade gluten-free bread is especially useful for meal planning. Baking one loaf at the beginning of the week provides fresh bread for sandwiches, snacks, and breakfast without relying on expensive store-bought alternatives.
The loaf can also be sliced after cooling and stored in portions, making it easy to remove only what you need. Toasting frozen slices directly from the freezer is a convenient way to enjoy fresh-tasting bread whenever you need it.
Storage and Freezing
To keep the bread fresh, allow it to cool completely before placing it in an airtight container or wrapping it tightly. At room temperature, it stays enjoyable for several days while maintaining its soft texture.
For longer storage, slice the loaf before freezing. Individual slices can be placed in freezer-safe bags and removed one at a time. This method reduces waste while providing quick access to homemade bread whenever needed.
Optional Ingredients That Improve the Bread
Although the basic recipe produces excellent results, a few optional additions can slightly change the texture and nutritional value. Chia seeds or flaxseed meal increase moisture while adding fiber and healthy fats. Apple cider vinegar helps create a lighter crumb by improving the dough’s overall structure during baking.
These additions are entirely optional, allowing the recipe to remain simple while giving experienced bakers the opportunity to customize the loaf according to personal preference.
Common Mistakes to Avoid
Even though this recipe is beginner-friendly, a few simple precautions help ensure the best possible results. Using water that is too hot may prevent the yeast from activating properly, while water that is too cold can slow the rising process. The dough should remain thick and sticky, so avoid adding excessive flour in an attempt to create a firmer consistency.
Another common mistake is slicing the loaf while it is still warm. Allowing the bread to cool completely improves both texture and appearance while making every slice easier to handle.
Notes
Use Warm Water
Warm water activates the yeast properly. Avoid using very hot or cold water for the best rise.
Choose a Good Gluten-Free Flour Blend
A flour blend that already contains xanthan gum generally produces the softest texture and strongest loaf.
Add Water If Needed
If the batter appears unusually thick, add 1–2 tablespoons of warm water until it reaches a thick, smooth consistency.
Cool Completely
Allow the bread to cool fully before slicing to prevent a gummy texture.
Toast for Extra Flavor
Lightly toasting the slices creates a crisp exterior while keeping the inside soft and tender.
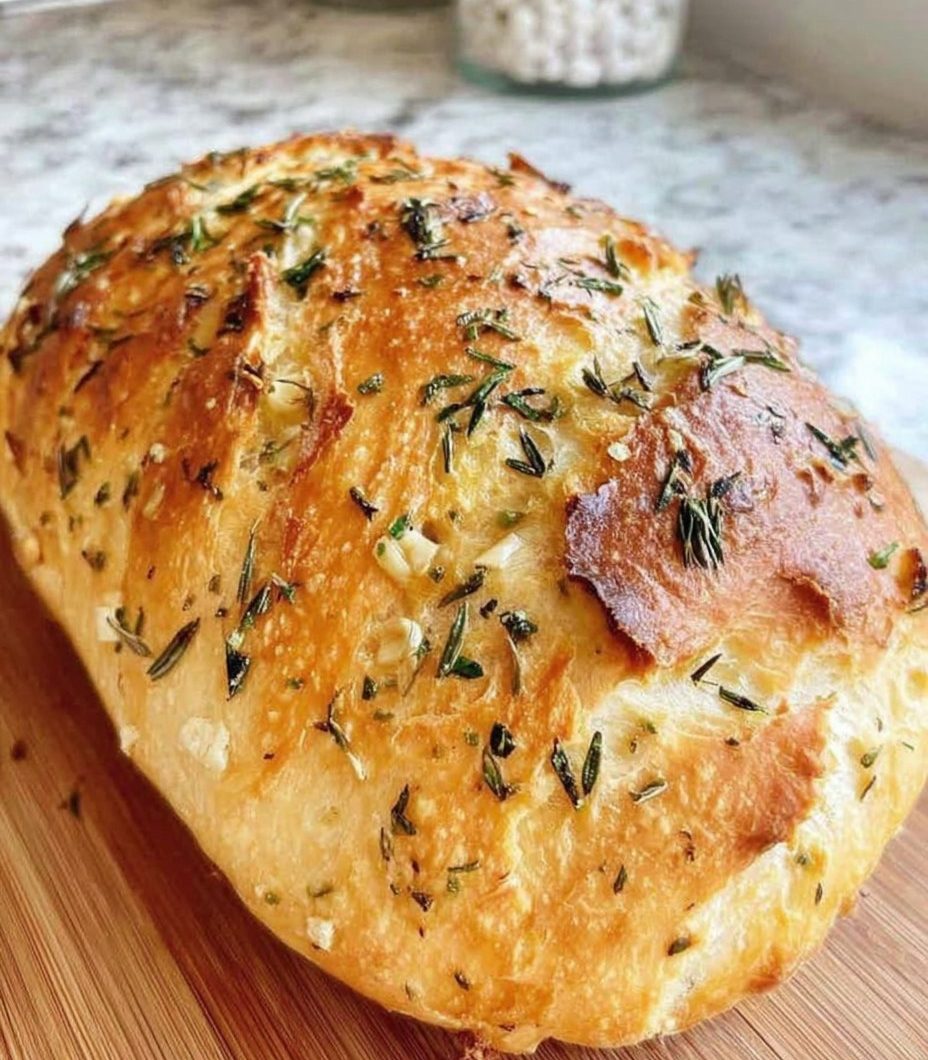
Gluten-Free No-Knead Bread
Gluten-Free No-Knead Bread is a soft, fluffy, and beginner-friendly homemade loaf made without kneading, eggs, or butter.
1
servings10
minutes40
minutes145
kcal40
minutes1
hour30
minutesIngredients
2 cups gluten-free flour blend (with xanthan gum)
1½ cups warm water
1 tbsp sugar or honey
2¼ tsp active dry yeast
1 tsp salt
2 tbsp olive oil
Directions
- Activate the Yeast
Mix the warm water, sugar, and yeast.
Let stand for 5–10 minutes until foamy. - Make the Dough
Add the flour, salt, olive oil, and optional ingredients.
Stir until a thick, sticky batter forms. - Let It Rise
Transfer the batter to a greased loaf pan.
Smooth the top.
Cover and let rise for 30–45 minutes. - Bake
Bake at 190°C (375°F) for 40–45 minutes.
Bake until the loaf is golden and firm. - Cool & Serve
Cool completely.
Slice and serve.
Nutrition Facts
1 servings per container
- Amount Per ServingCalories145
- % Daily Value *
- Total Fat
4g
6%
- Total Carbohydrate
26g
10%
- Protein 3g 6%
* The % Daily Value tells you how much a nutrient in a serving of food contributes to a daily diet. 2,000 calories a day is used for general nutrition advice.